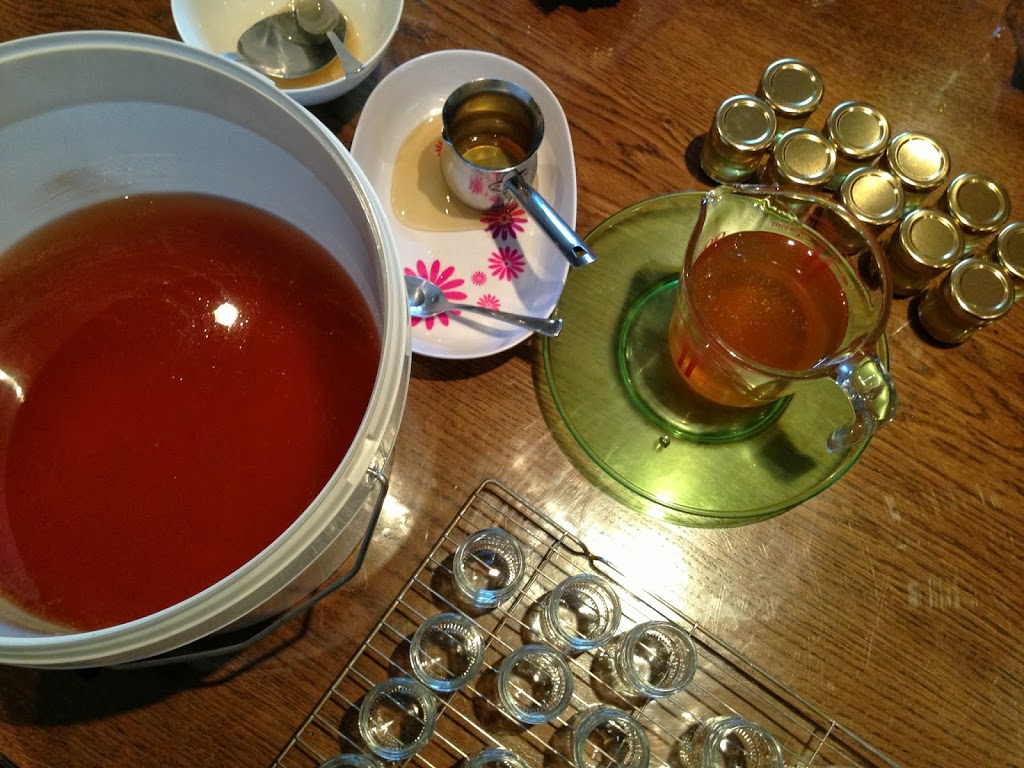
1. Getting ready for honey extraction
What you need:
- Jars – you can estimate 30lb of honey for each full super to work out how many you need.
- Porter bee escapes – 2 for each hive
- Honey bucket – to collect the honey
- Knife – to uncap the capped honey cells
- Honey extractor (although you can harvest without an extractor)
- Bee brush – helpful but not essential (the horse hair one is gentler on the bees than the plastic version)
2. Harvesting honey
Harvesting without a honey extractor
Honey extractors are very expensive and it may not always be possible to get access to one from your local association. Fortunately, even without a honey extractor, harvesting couldn’t be easier.
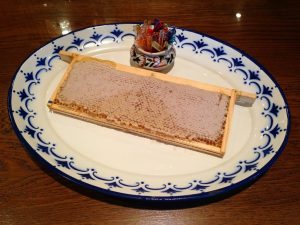
Option 1: you simply take off a frame of sealed honey and serve directly from the frame! This is great if you’re sharing with others.
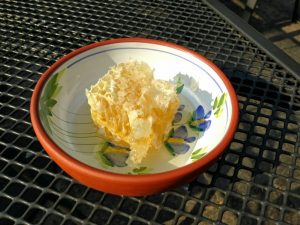
Option 2: You can also take a frame and cut the comb into squares which can be put into plastic containers.
The advantage of both of these methods is that you retain the wax which has it’s own taste and health benefits.
Option 3: Use a muslin sheet and placed the honey comb in the sheet. Then squeeze the honey out into jars. This allows you to separate the honey from the wax.
Harvesting with a honey extractor
- Start by removing the supers which area ready i.e. are full of honey cells which are capped.
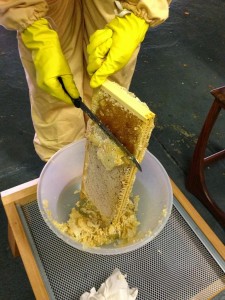
- Over a bucket and using a bread knife slice off the top layer wax capping (this is called uncapping) so that you reveal hundreds of open honey cells.
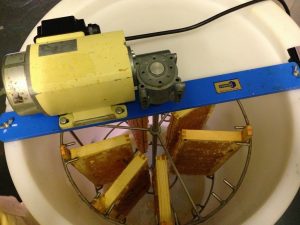
- Place the uncapped supers into the extractor ensuring that they are placed opposite each other to balance the weight.
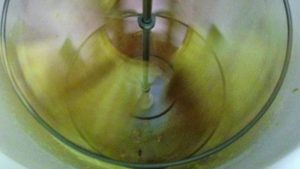
- Start the extractor machine, which spins the supers like a centrifuge releasing the honey from the uncapped cells into the storage bucket.
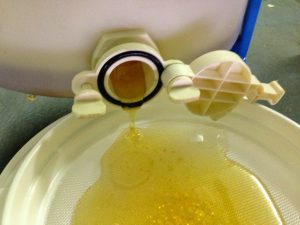
- Once a good volume of honey has been extracted, open the tap at the front of the hive and release the honey into a honey sieve (2 sieves placed on top of each other with the coarse sieve above the finer one) placed above a honey bucket.
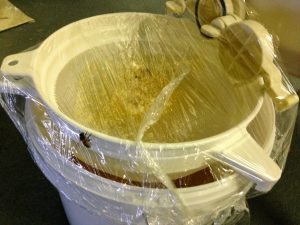
Its worth putting a cling film cover over the sieve at this stage to stop stray bees or wasps feeding on your honey - Allow the honey to settle for a couple of days.
- The honey is now ready to be placed in jars.
3. Jarring honey
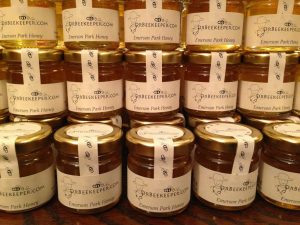
 Buy honey jars through your local association to benefit from bulk buying and save on postage costs. It’s best to rinse the jars in warm water or place in a dishwasher to make sure they are completely clean. The washed jars are then placed in a tray and heated at 100C for 5-10 minutes to ensure that every last drop of water has evaporated. While they are being heated clean the inside of the lids with a damp cloth. Remove the heated jars from the oven and allow to cool before pouring the honey into each jar using a measuring jug. Ensure you close the lids tightly.
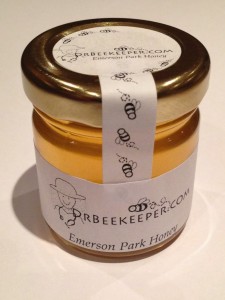
You can buy professionally made labels, but these are very expensive so if you can it’s worth making your own. The best thing it to buy some labels of the required size which you can put through your printer (ideally laser printer so the ink is waterproof). There are certain legal requirements for honey labels if you plan to sell – you need to include these details:
- Include the word ‘honey’ which can be prefixed with the type of honey or it’s origin. eg. Essex Honey.
- Weight in metric with figures at least 4mm high for 454g and 227g weights. Imperial weights can also be shown in close proximity to the metric but must be less prominent.
- Your name and address.
- The country of origin eg. Produce of UK. This must be in addition to your address.
- Best before date (usually 2-5 years). If the full date (day, month, year) given a lot number is not needed. Otherwise this must be added.
- Give to family and friends.
- Sell it in local shops (eg farm shops or country parks) and at honey shows.
- Enjoy the taste yourself!

Hello there, You have done an excellent job. This post couldn’t be written any better!
A clear explanation. Many thanks