

|
| The tragic loss of my first colony of bees. |
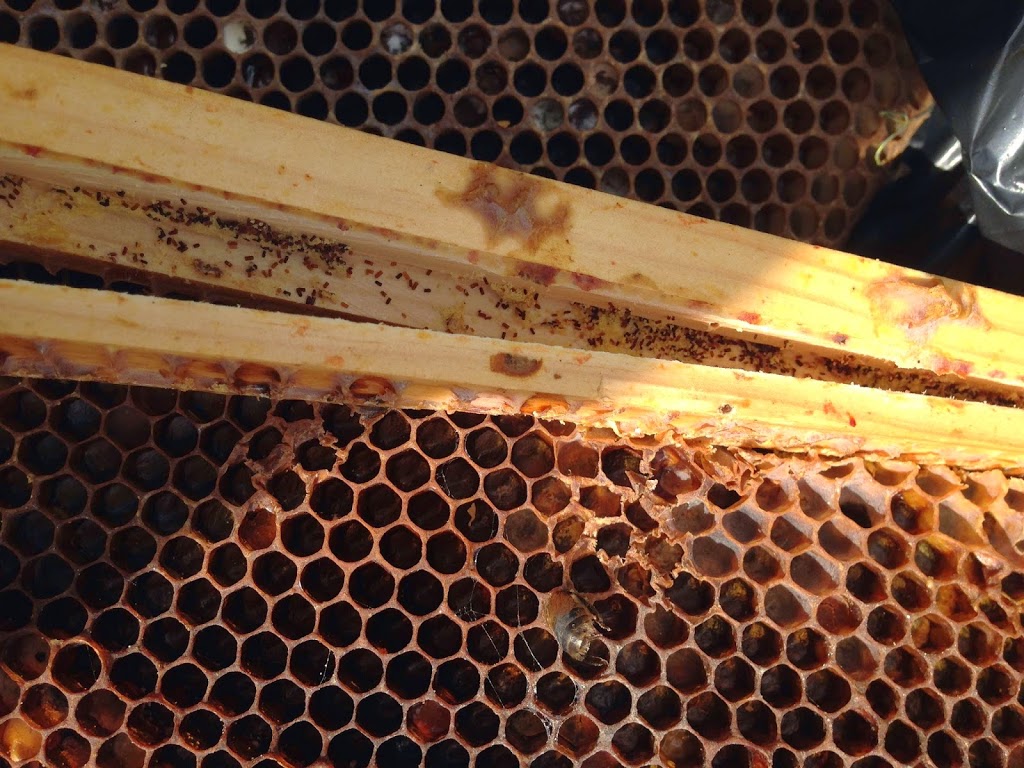
Earlier this year, as soon as it was warm enough to open the hive, I was shocked to find on my first inspection of the season all the bees were DEAD. They stood there as if frozen by time. The emergency feed, fondant placed on top of the brood box, clearly didn’t work. It was sad losing my first colony which I have been sharing with my followers since I first started this blog.
Why do colonies fail?
A good examination of the failed colony is important to try to identify this. There are several reasons why a colony may fail including:
- Lack of food stores may be indicated by bees being found trying to feed.
- Weak colony with too few bees to support the colony.
- Bee disease eg if the front of the hive and frames have bee faeces that could indicate the bees were suffering from dysentry. Dysentry can occur as a result of fermentation of stores over the winter.
- Mice may have become resident in the hive if there was no mouseguard in place. You can see signs of this with gnawed hive parts and the smell of mouse urine.
Action plan for managing a dead colony
- Close off the hive entrance until you have time to inspect it properly.
- Inspect the frames carefully, ideally with an experienced beekeeper, to try to identify why the colony didn’t survive.
- Ideally discard any used frames. It is safer to start with fresh frames as you can be sure these are disease free. It is possible to salvage and re-use old frames which saves money but takes considerable time:
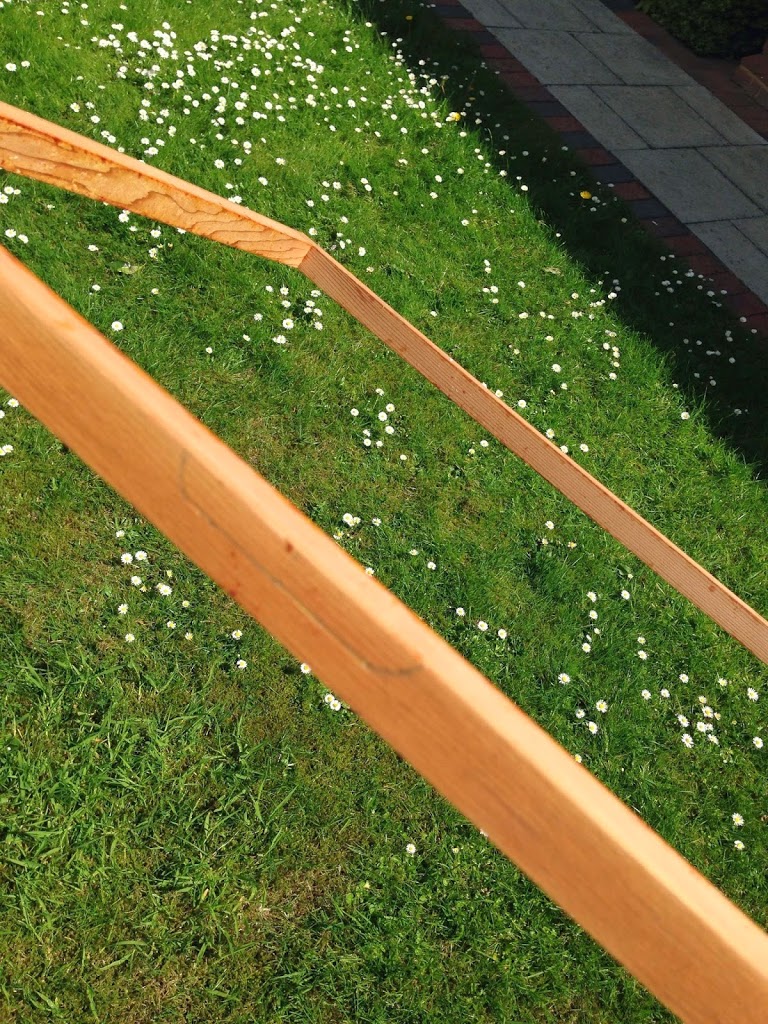
- Cut out the beam which holds down the foundation by removing the nails.
When I attempted salvaging some of the old frames I found evidence of disease. These frames were discarded. - Discard the drawn out foundation using a knife to cut this away from the sides and bottom of the frame.
- Remove any excess wax with a hive tool.
- Scorch the wood with a blow torch being careful not to burn the wood (it will go slightly darker brown in colour).
- Then reassemble the frame with some new foundation.
- Cut out the beam which holds down the foundation by removing the nails.
- Sterilise all the hive parts using a blow torch. This can be purchased from any good DIY store. It is essential to sterilise all the equipment to help prevent spread of any potential infection to your new colony.
- Call your local beekeeping division to find out if any bees are available in the area or buy bees online.
Getting started with a new colony…
I called my local bee division and explained what had happened. They were extremely helpful as they put me in contact with a beekeeper who had a colony to sell which I bought for just £60. I brought the brood box full of bees home to make a new hive.
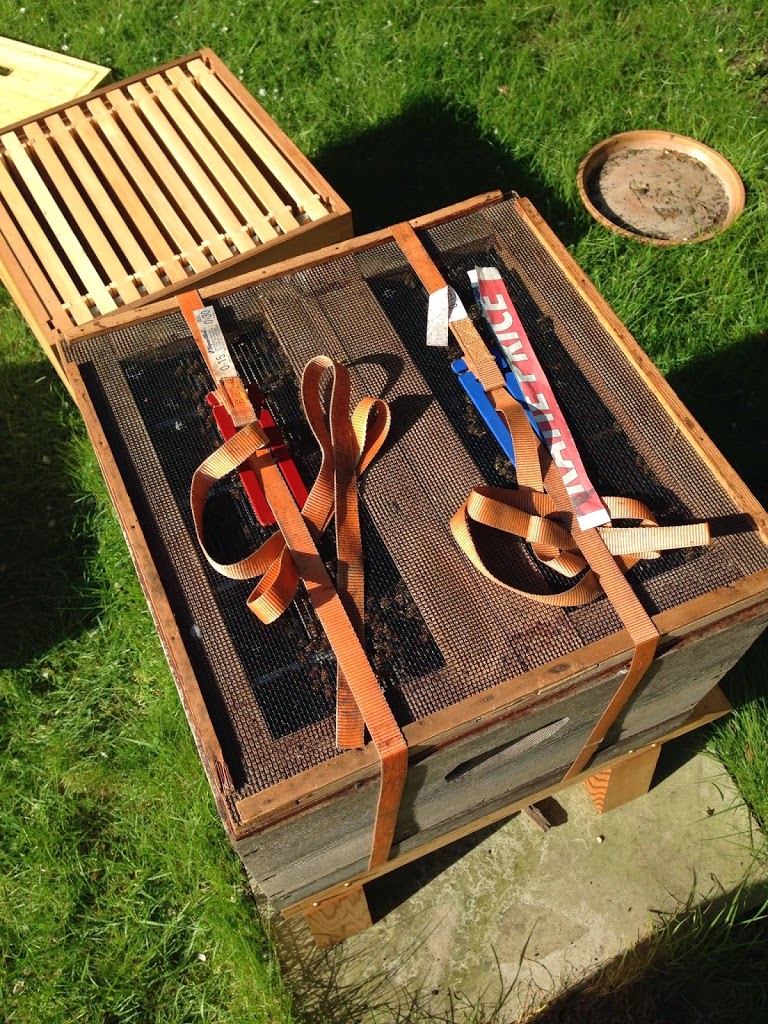 |
| A delivery of new bees! |
The only problem was that the brood box I bought was a commercial box and I needed to convert it to my national brood box (as all my hives are nationals).
Transferring bees from a commercial brood box into a new national brood box
- Start with the commerical brood box at the bottom of the hive, and place on top of this your new empty national brood box (containing frames with foundation).
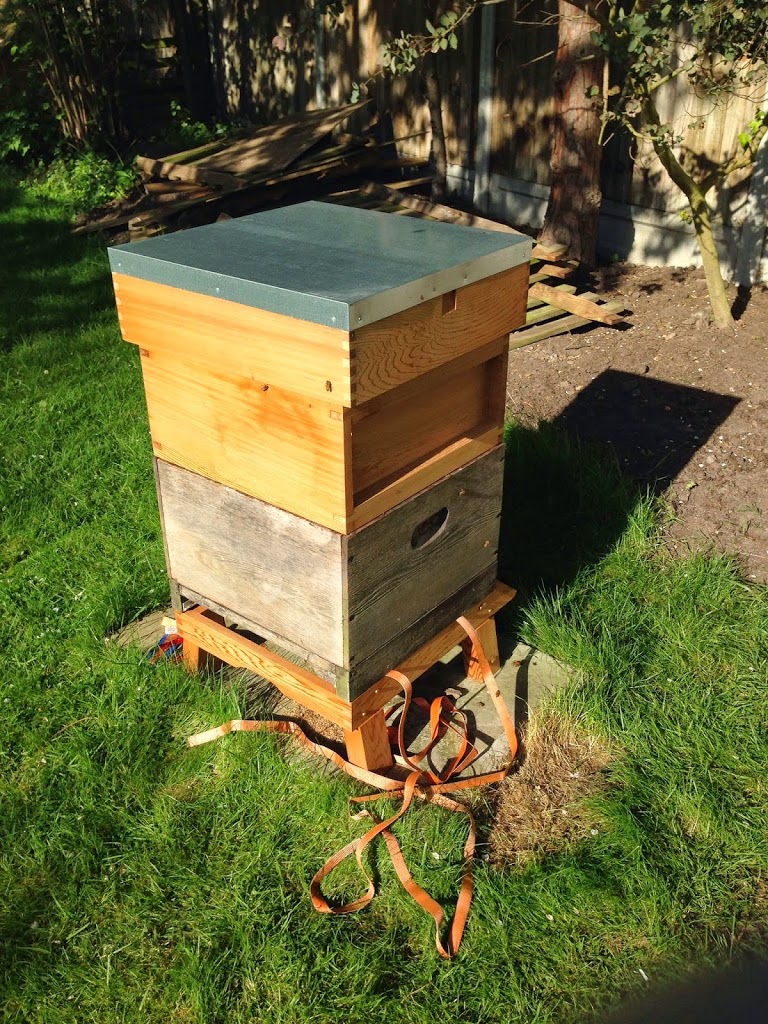
The hive should now look like this with the commercial brood box at the bottom and the new national brood box sitting on top. - Leave the bees for a week to allow them to start occupying the new national brood box.
- Make a new hive entrance using an adapted eke by cutting a small notch in the middle of one side.
First trace a small hive entrance on the eke with pencil… 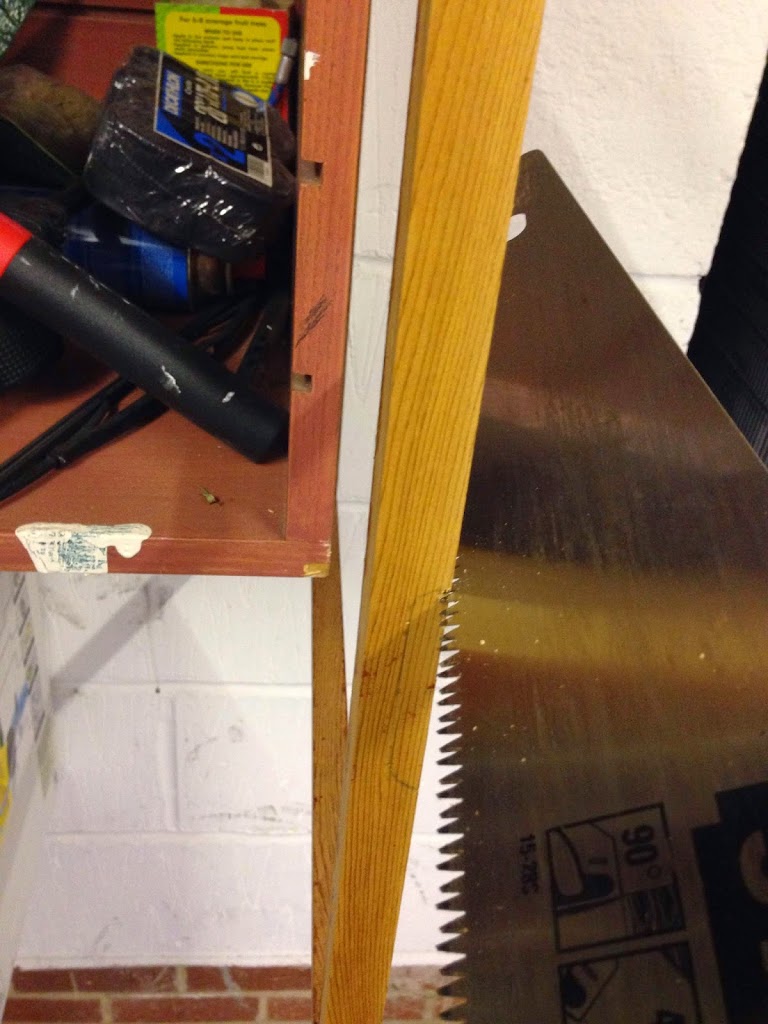
…then use a saw to cut out the new entrance on the adapted eke. - Inspect the colony, find the queen and place her in the new national brood box (which is sitting above the old commercial brood box).
- Between the two brood boxes place a queen excluder and the adapted eke above this.
- The final hive from bottom to top will be: old commerical brood box (no longer has queen in it); queen excluder, specially adapted eke with entrance, new national brood box (containing the queen); crown board; roof.
- Reinspect a week later and check that the queen is laying eggs in the new national brood box.
- Then remove the adapted eke from the hive and place the new national brood box at the base of the hive so that it uses the normal hive entrance. On top of this, place the queen excluder and then the old commericial brood box. At this point the hive from bottom to top will be: new national brood box; queen excluder; commercial brood box; crownboard; roof.
- You have now successfully transferred the brood bees from a commercial box to a national box. The commercial box will now act as a super and any honey can be harvested. Alternatively the commercial box can be sold to a beekeeper using commercial boxes.
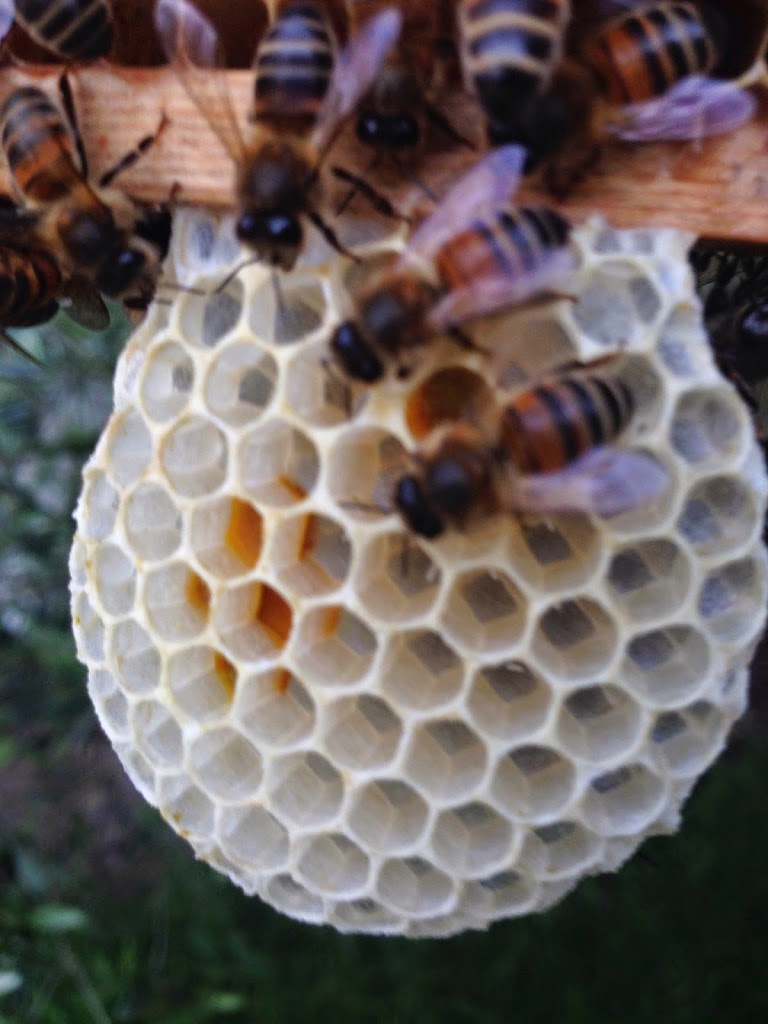
I started the process of transferring bees from the commercial brood box to a new national brood box. When I got to step 4 however, I couldn’t locate the queen. In fact there was no brood or eggs to be found! I did however, see 2 queen cells which appeared to have hatched.
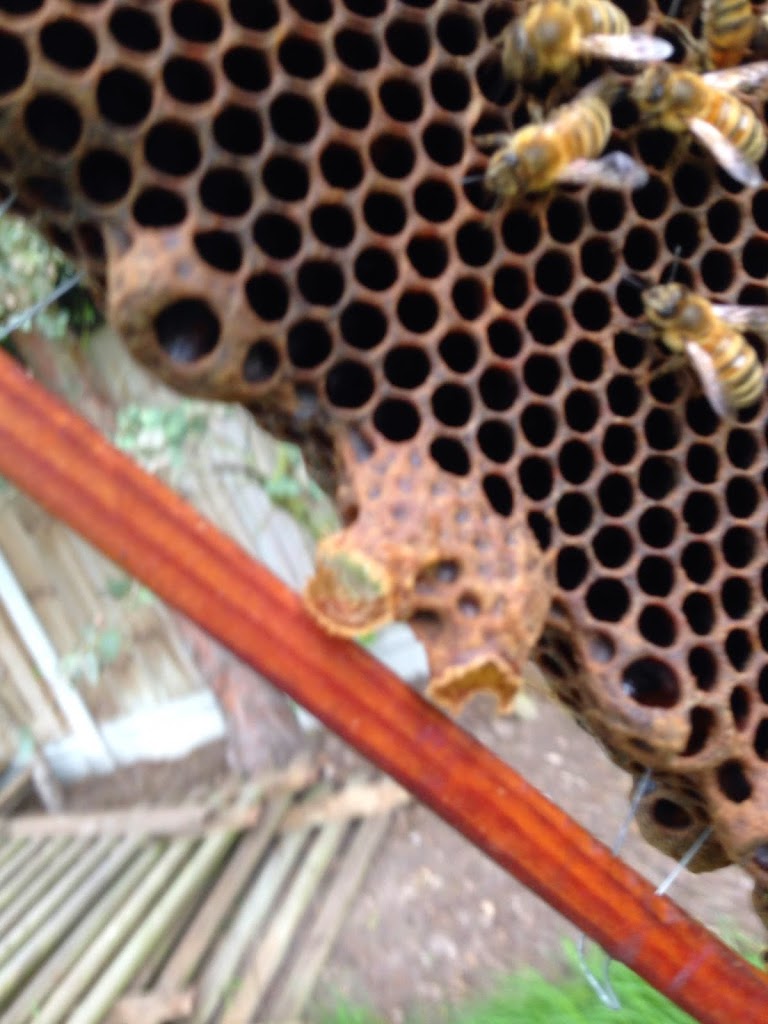 |
| Two queen cells appeard to have hatched providing hope that there was at least one virgin queen in the hive. |
So I closed the hive and reinspected after 10 days in the hope that a virgin queen had mated and would be laying eggs.
When I reinspected 10 days later, again there was no sign of eggs. I then called my division about the situation and fortunately there was a swarm that had been collected into a nucleus hive. I brought this home and left it for a few days. When I inspected the nucleus hive I was relieved to find lots of eggs!
 |
| Eggs found in the nucleus hive. |
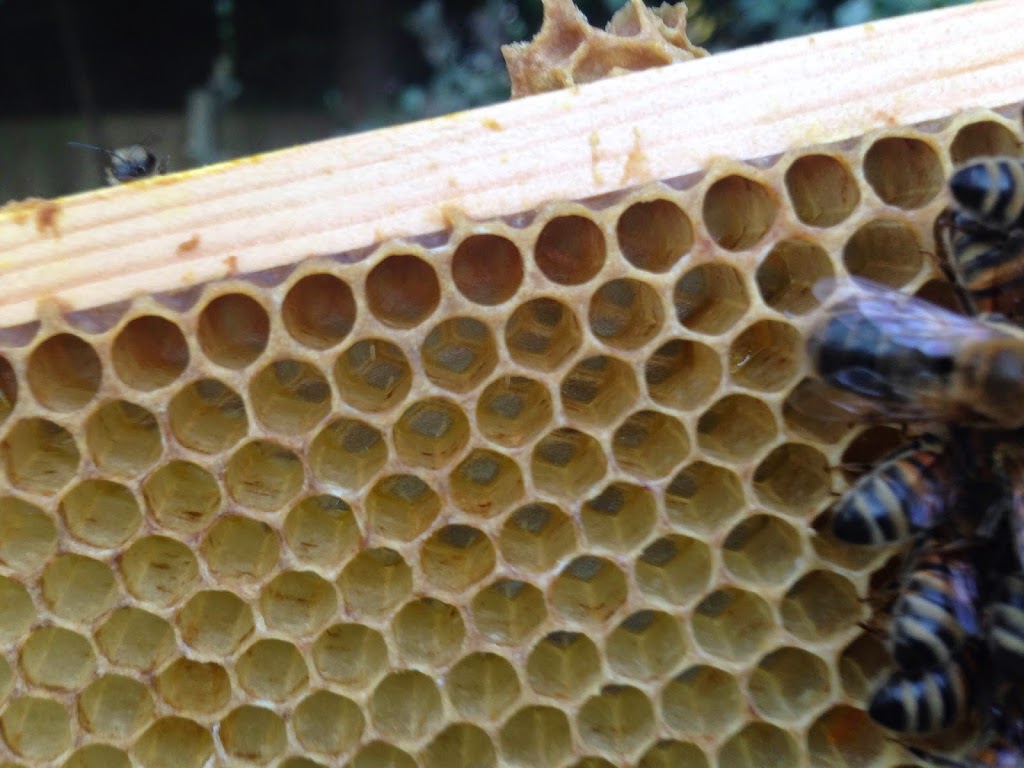 |
| Eggs found in the national frames of the new hive. |
I then went back to my original hive and was surprised to find lots of eggs (so the virgin queen must have mated). And that’s the story of how I lost my first colony and ended up with 2 new colonies!
A happy ending!
Glad there was a silver lining! Your blog is so interesting. Am impressed by the detail you have learned about bees and the breadth of related things you do.